Related guides: DWC guide · Hydroponics for Beginners
Lettuce is one of the most approachable hydroponic crops because it grows quickly, stays compact, and can be harvested before it needs the support required by large fruiting plants. Success still depends on matching the variety to the light, keeping the root zone oxygenated, and avoiding sudden changes in water, temperature, or nutrient strength.
Choose a lettuce variety
Leaf lettuce and loose-leaf mixes are usually more forgiving than large, slow-heading types. Butterhead, oakleaf, romaine, and compact baby-leaf varieties can all work, but their mature size and harvest timing differ. Check the seed packet for days to maturity, preferred temperature, and spacing rather than treating every lettuce seed as interchangeable.
Start with one or two varieties so you can compare growth under the same light. Crowding creates a humid canopy and makes it harder to inspect leaves and roots. Plan the mature spacing before sowing more seeds than the system can support.
Start seeds for hydroponics
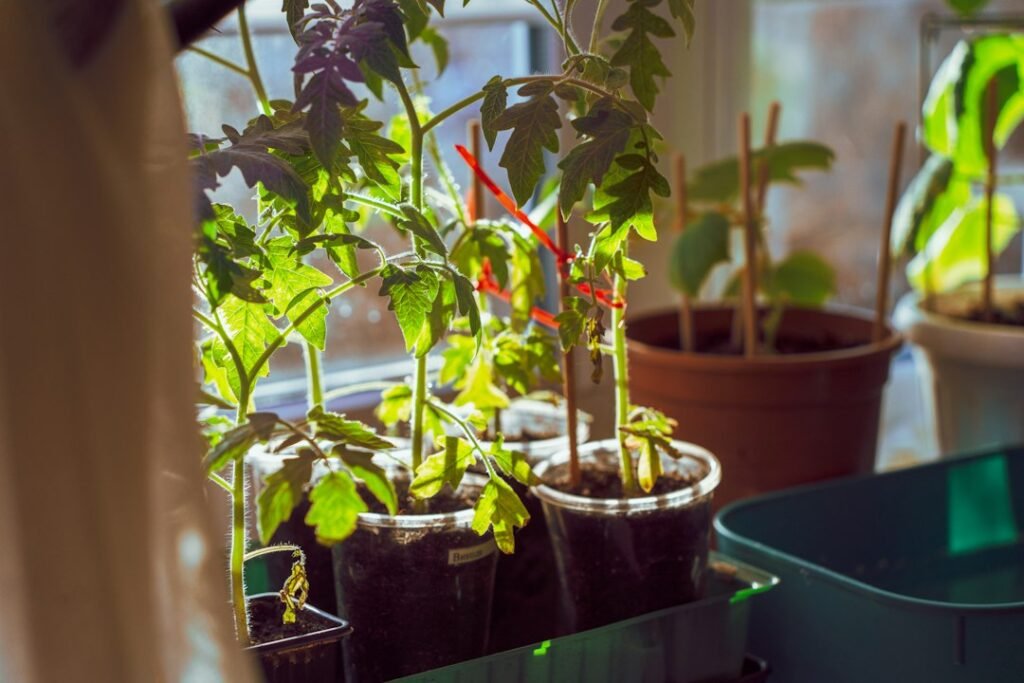
Use a clean seed-starting medium that can be transferred into a net pot or raft. Rockwool, coco-based plugs, and other purpose-made media can work when they are prepared according to the product instructions. Keep the medium moist but not permanently waterlogged, and provide gentle light as soon as seedlings emerge.
Seedlings need moisture at the root zone, but a saturated stem base can encourage damping-off. Thin crowded seedlings, protect them from strong heat, and increase light gradually. Transplant when the seedling has a healthy root system and enough true leaves to handle the move.
Choose a suitable system
Raft or deep water culture
Lettuce can grow well in a raft or DWC system when roots receive oxygen and the water stays in a suitable temperature range. Keep the crown above the solution and use enough spacing for the mature head. Read the DWC guide for aeration, water level, and reservoir checks.
Kratky
A passive Kratky container can suit a small lettuce crop. Use an opaque reservoir, a stable net pot, and enough working volume for the expected crop. As the level falls, the air gap becomes part of the root-zone design. Do not keep refilling to the original level after roots have developed.
NFT and towers
Moving systems can produce many lettuce plants in limited floor space, but a blocked channel or failed pump can affect every plant. Test the flow without plants, keep return paths clear, and inspect upper and lower sites for differences in light or moisture.
Light and temperature
Lettuce prefers consistent conditions. Too little light produces stretched, thin growth; excessive heat can cause bitterness, tipburn, bolting, or uneven development. Keep the light close enough to provide useful intensity without overheating leaves, and maintain airflow through the canopy.
Measure or observe at canopy height. Fixture wattage alone does not describe usable light. The DLI calculator can estimate daily light from a PPFD reading and the hours of operation, but plant response and temperature still guide adjustments.
Nutrients, pH, and water
Use a complete hydroponic fertilizer at the label’s crop-appropriate dilution. Lettuce does not need a heavy nutrient mix simply because a stronger reading seems to promise faster growth. Excess salts can stress roots and contribute to leaf-edge problems.
Test pH and EC consistently if you have the tools. Record the meter scale because PPM conversions differ. The EC to PPM calculator can convert a reading, but it cannot replace a crop-specific feeding plan. Check water temperature, reservoir level, and root condition alongside every nutrient reading.
Transplant timing and spacing
Move lettuce into its final site when the roots can hold the plug together and the seedling has true leaves. Set the plug so the crown stays dry and the roots can reach moisture below. Leave enough room between plants for the mature rosette, not just the seedling footprint. If the canopy closes before harvest, remove alternate plants or harvest them as baby leaves rather than allowing humidity to build.
A short observation period after transplanting helps separate shock from a system problem. Keep the light consistent, avoid changing nutrient strength at the same time, and look for new growth over the next several days. If every plant struggles at once, check shared water, light, temperature, and flow first.
For the next step, see the Kratky guide.
Spacing and airflow
Give each plant enough room for air to move around mature leaves. Crowded lettuce stays wet longer after condensation and is harder to harvest cleanly. Remove damaged leaves, keep the growing surface clean, and avoid letting dead material fall into a reservoir or channel. A small fan can help maintain gentle airflow, but do not point a strong stream directly at young seedlings.
Harvest strategy
Baby-leaf lettuce can be harvested by removing outer leaves while leaving the crown intact. Whole-head harvest is appropriate when the variety and spacing have reached the desired size. Use clean scissors or a clean knife, harvest during a cooler part of the day when possible, and remove the plant and roots promptly if the system is being replanted.
Successive sowing creates a steadier harvest than planting every seed on one day. Start a small number of new seedlings every week or two, adjusting the interval to the system’s space and your household’s use. Label each sowing date so you can refine the interval after seeing actual growth.
Common lettuce problems
| Symptom | First checks |
|---|---|
| Long, thin seedlings | Light intensity, fixture distance, crowding, and transplant timing |
| Brown leaf edges | Heat, airflow, rapid growth, root function, water consistency, and nutrient strength |
| Bitter or bolting plants | High temperature, variety, plant age, light schedule, and harvest timing |
| Wilting | Water level, pump or aeration, root condition, heat, and blocked flow |
| Yellow older leaves | Root health, pH, EC, light, plant age, and whether the issue is spreading |
| Algae | Light reaching nutrient solution, exposed media, and cleaning routine |
Root-zone sanitation
Do not let loose media, dead roots, or fallen leaves collect in channels and reservoirs. These materials can block flow and provide food for unwanted growth. Use an access cover when inspecting roots and keep direct light off exposed solution. If a plant has clearly decaying roots, isolate it before the problem spreads through shared water.
After harvest, remove the full root mass before starting another crop. Clean the reservoir and planting sites rather than topping up old solution indefinitely. A simple record of variety, crop date, reservoir volume, spacing, and harvest weight will show which routine works best in your room.
Weekly routine
- Check water level, aeration or flow, leaks, and canopy temperature.
- Inspect roots and remove dead leaves or plant debris.
- Record pH and EC consistently if meters are available.
- Compare new growth with the previous week before changing fertilizer.
- Reseed a small replacement batch if you want continuous harvests.
Related guides
Start with Hydroponics for Beginners for system selection and maintenance. Use the Kratky guide for a passive reservoir or the setup checklist before planting.