Related guides: growing tomatoes in pots · growing strawberries in containers
To plant potatoes successfully, use certified seed potatoes or healthy seed pieces, choose a sunny site with loose drainage, and cover the pieces with only a few inches of soil at first. As the stems grow, add soil around them so developing tubers stay covered. Planting date depends on local frost and soil conditions, so use the calendar as a guide rather than a universal rule.
What counts as a seed potato?
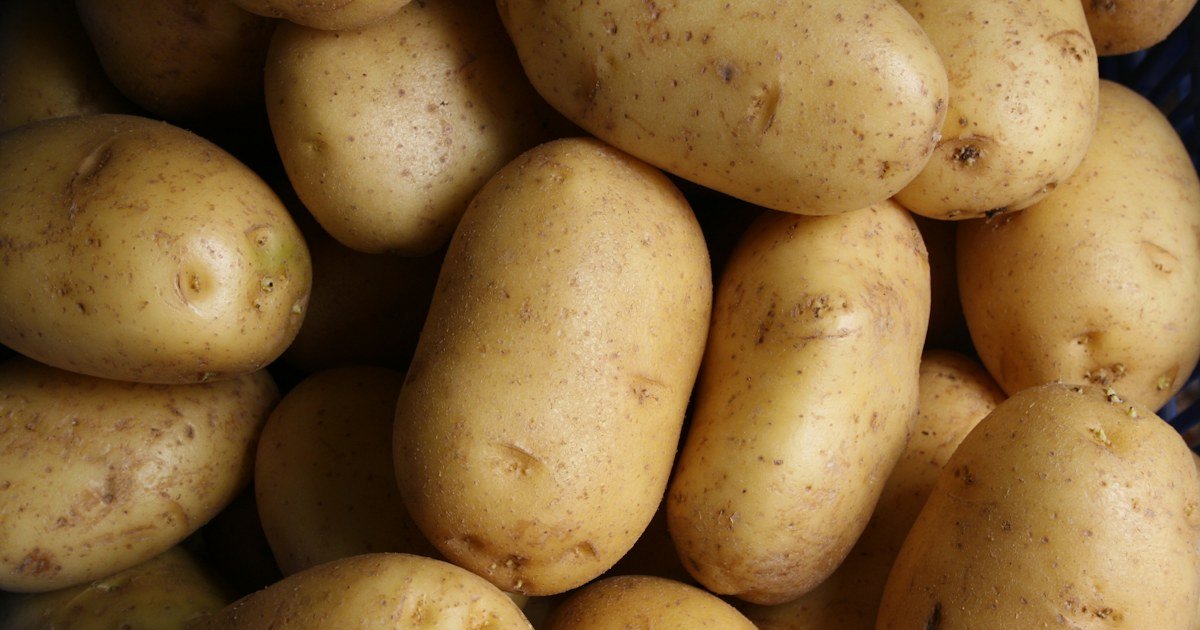
A seed potato is a tuber grown and handled for planting, not a botanical seed. Certified seed stock is the safer choice because it is produced to reduce the risk of carrying disease into the garden. Grocery-store potatoes may sprout, but they can be treated to slow sprouting or may introduce problems that are difficult to diagnose later.
Small seed potatoes can be planted whole. Larger tubers can be cut into pieces, with each piece carrying at least one strong eye. Cut pieces need time in a dry, airy place for the cut surface to seal before planting. Do not plant soft, wet, badly shriveled, or rotting pieces.
When to plant potatoes
Potatoes are cool-season crops. In much of the United States, planting begins in spring as the soil becomes workable and warms above the crop’s minimum range. The exact date changes with latitude, elevation, variety, and the risk of a late freeze. Wet, cold soil is more likely to delay emergence and encourage decay than soil that is merely cool.
Use your local frost date as a planning reference, then check the actual bed. The soil should crumble rather than form a sticky ball. In warm regions, gardeners may plant an additional crop later in the year, but the crop still needs enough mild weather to form tubers before extreme heat or a hard freeze.
Prepare the bed or container
Choose a location with at least six hours of sun and soil that drains after rain. Loosen the planting area rather than working wet soil. Potatoes need room for tubers to expand, and compacted soil can produce misshapen potatoes and make harvest difficult.
For a container, use a large grow bag, half barrel, or food-safe bucket with drainage holes. Early or compact varieties are easier to manage in containers. A container at least 12 inches wide and deep is a practical starting point, but larger volume gives the roots more room and makes moisture management less abrupt. Plan on one seed potato per roughly 12 inches of container diameter, adjusting for variety and container shape.
Potato planting depth and spacing
| Planting detail | Practical starting range | Why it matters |
|---|---|---|
| Seed-piece depth | About 3 to 5 inches | Deep enough to cover the piece while allowing quick emergence |
| In-row spacing | About 8 to 12 inches | Leaves room for tubers and foliage |
| Row spacing | About 30 to 36 inches | Allows hilling and harvest access |
| Initial container soil | About 4 to 6 inches below the seed pieces | Leaves room for later hilling |
These are useful starting points, not guarantees. Smaller varieties can be closer together, while large baking varieties need more room. Follow the spacing guidance for the variety when it is available.
How to plant potatoes in a garden bed
- Prepare a shallow trench. Make a trench roughly 3 to 5 inches deep in loosened soil.
- Place the seed pieces. Set pieces with the eyes facing upward and the cut side down when possible.
- Space the pieces. Leave enough room for foliage and developing tubers. Crowding increases competition and makes the canopy slower to dry.
- Cover lightly. Replace soil over the pieces, but do not compact the ridge.
- Water carefully. Moisten the bed if the soil is dry, but avoid leaving the planting area saturated.
- Hill as stems grow. When shoots are several inches tall, pull or add soil around the lower stems. Repeat as the plant grows until the developing tubers are protected.
Hilling is not about burying the whole plant. Keep the growing tips and enough foliage exposed so the plant can continue to make energy. The covered portion of the stem can produce additional sites for tubers, while the soil layer protects potatoes from light.
For the next step, see the grow mango from seed.
Growing potatoes in a container
Start with a layer of moist mix or soil deep enough to cover the seed potatoes by a few inches. Place the potatoes evenly, then add more soil as the shoots emerge. Some gardeners roll down a grow bag and add soil in stages; others use a tall container and work upward. The method matters less than keeping the tubers covered and leaving drainage open.
Container potatoes dry faster than potatoes in the ground. Check the mix regularly and water thoroughly when it begins to dry, allowing excess water to leave the drainage holes. Do not keep the container constantly wet. A saucer can catch runoff, but it should not hold the pot in standing water.
Water, weeds, and feeding
Potatoes need even moisture while foliage and tubers are developing. Severe swings between very dry and very wet conditions can reduce quality and contribute to growth problems. Mulch can slow evaporation and reduce soil temperature swings, but keep mulch from becoming a wet, packed layer against the stems.
Keep weeds under control while plants are small. Weeds compete for water and nutrients and can make it harder to inspect the foliage. A soil test can help determine whether the bed needs amendments. Avoid high-nitrogen feeding that produces lush leaves without supporting the crop balance you want. If using fertilizer, choose a product labeled for vegetables and follow the label rate rather than guessing.
How long do potatoes take to grow?
New potatoes may be ready roughly seven to eight weeks after planting, depending on variety and growing conditions. Mature potatoes take longer, often around 90 to 120 days for many varieties, but days to maturity is not a promise. Soil temperature, daylight, water stress, disease, and variety all change the timeline.
For new potatoes, you can carefully feel beneath the soil after flowering or when tubers have reached a useful size. For mature potatoes, wait until the foliage has naturally yellowed and dried or has reached the harvest stage described for the variety. Once the tops die back, leaving the tubers in the soil for a short curing period can toughen the skin, provided the weather and pest pressure are suitable.
How to harvest without damaging tubers
Use a garden fork or digging fork outside the main planting area and lift the soil gradually. A fork pushed directly under the hill can spear potatoes. In a container, empty the mix onto a tarp or into a shallow bin so potatoes can be collected without bruising them.
Brush off loose soil and let the crop dry in a cool, dark, well-ventilated place. Do not wash potatoes before storage unless you plan to use them soon. Discard damaged or rotting tubers rather than storing them with healthy ones.
Common beginner mistakes
- Planting supermarket potatoes: sprouting is not the same as clean planting stock.
- Planting too deeply in cold, wet soil: emergence may be slow and pieces may rot.
- Skipping hilling: exposed tubers can turn green when light reaches them.
- Using a small container: the mix dries quickly and leaves little space for tubers.
- Harvesting by calendar alone: inspect the foliage and consider variety and weather.
Frequently asked questions
Can you grow a potato from a potato?
Yes, a potato tuber or a suitable piece with eyes can produce a new plant. Certified seed potatoes are preferred because they reduce the chance of introducing disease.
How deep should potatoes be planted?
Start with roughly 3 to 5 inches of soil over the seed pieces, then hill as the stems grow. The correct depth depends on soil, variety, climate, and the hilling method.
When should potatoes be harvested?
Harvest new potatoes when tubers are large enough to use. Harvest mature potatoes after the foliage has dried and the tubers have reached the variety’s expected maturity.